LaTeX stuff
This page describes how showyourwork parses your LaTeX manuscript (by default,
the file src/ms.tex) and uses it to build your article PDF. While you can
do just about anything you’d regularly do when writing in LaTeX, there are a
few rules and details you should be aware of controlling the generation of figures
and the inclusion of clickable margin icons, which we discuss in detail below.
Overview
By default, the LaTeX manuscript that gets compiled into your paper PDF looks something like this:
% Define document class
\documentclass[twocolumn]{aastex631}

% Filler text
\usepackage{blindtext}

% Begin!
\begin{document}

% Title
\title{An open source scientific article}

% Author list
\author[0000-0000-0000-0000]{First Author}

% Abstract with filler text
\begin{abstract}
    \blindtext
\end{abstract}

% Main body with filler text
\section{Introduction}
\Blindtext[4]

\end{document}
When you run make, showyourwork generates a PDF that looks something like
this:
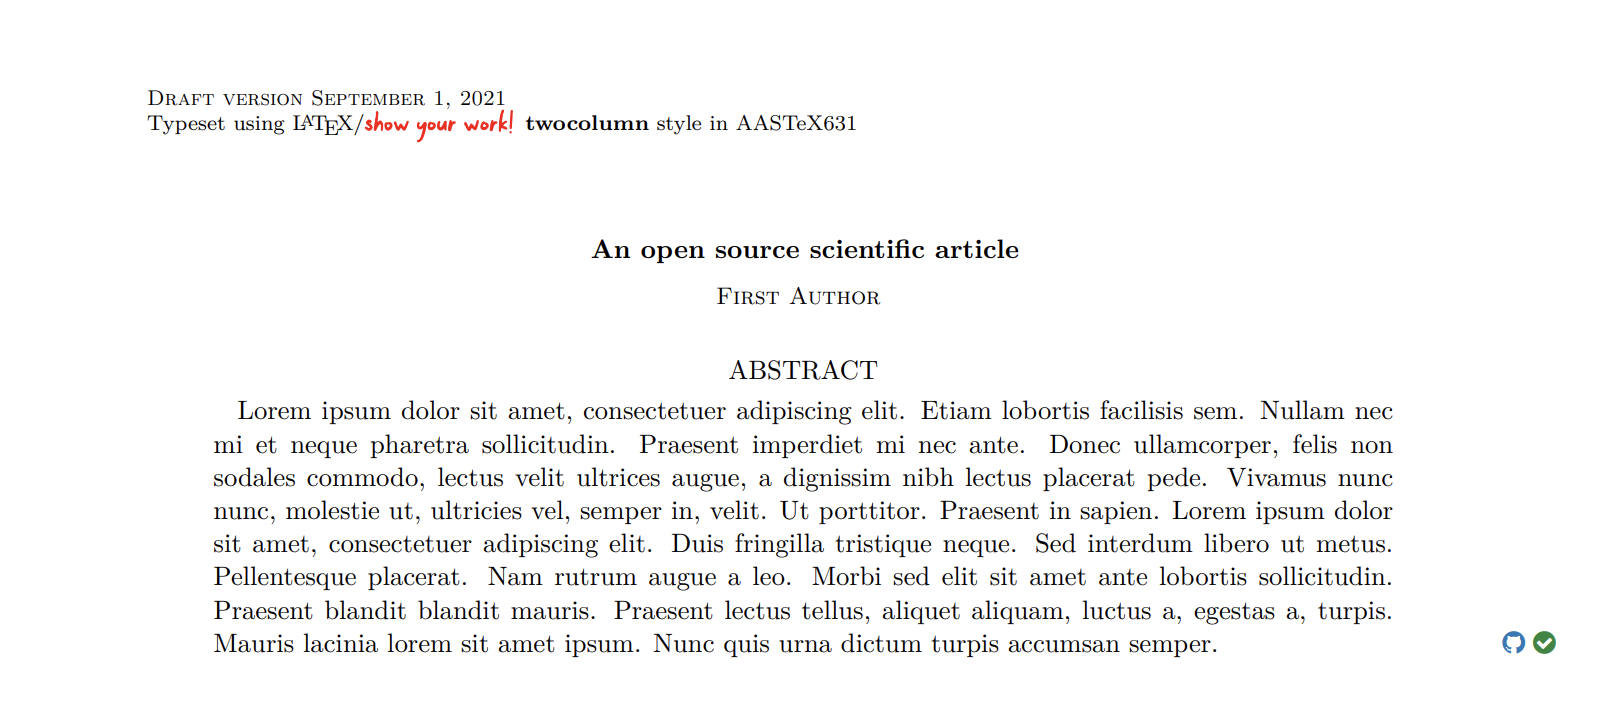
If you inspect the LaTeX source closely, you’ll find nothing that actually instructs
the compiler to add the showyourwork logo to the header or to add the two icons
in the margin next to the abstract – we don’t even import any packages other than
the blindtext package used to generate filler text. So what gives?
When you execute your workflow, showyourwork dynamically generates a LaTeX style
file from a Jinja template
and copies your manuscript to a temporary file that imports that stylesheet.
This is all a bit hacky, but it’s accomplishing a lot in the background, such as
automatically figuring out which figures need margin icons and correctly determining
the URL to link to (which depends on the figure scripts that generated them).
There’s no way to do this in plain LaTeX, so showyourwork outsources it
to Python, which renders a one-time, customized showyourwork.sty stylesheet
for that workflow run (which then gets deleted upon a successful build).
While most users don’t have to worry about how any of this works, it’s important to
keep in mind that showyourwork is redefining certain LaTeX commands under
the hood, such as the abstract and figure environments and the
includegraphics and label commands. For instance, in order to include the
margin icons next to the abstract, showyourwork simply patches the abstract
command to include a marginnote. But it’s the behavior of the label
command that we should talk about in detail, since that’s what showyourwork
uses to infer figure dependencies for your project.
The label command
As a general rule, you should always label your figure environments so that
you can reference them later in the manuscript. But with showyourwork,
labeling figures is required. That’s because the figure label actually
tells showyourwork how to generate the figure. If you’ve poked around
the Custom workflows page (in particular the default figure generation
example), you already have a sense of how this works, but let’s discuss it
in detail here.
Consider the following figure:
\begin{figure}
    \begin{centering}
        \includegraphics{figures/mandelbrot.pdf}
        \caption{Hello world! This is a pretty visualization of the Mandelbrot set.}
        \label{fig:fractals}
    \end{centering}
\end{figure}
This looks like regular LaTeX syntax, but to showyourwork it is specifying
a very specific set of instructions. Specifically, showyourwork inspects
the calls to \includegraphics and \label to infer that there exists a
script called src/figures/fractals.py that, when executed, generates a
figure called src/figures/mandelbrot.pdf. The key to all this is in the
\label command:
Important
If a figure label begins with fig:, the workflow assumes that
the remainder of the label specifies the name of a script in the
src/figures directory (without the extension)
that generates all of the figures mentioned in
\includegraphics calls within the same figure environment.
So, the fact that we labeled the figure fig:fractals means there should
exist a script called fractals.py in the src/figures directory.
Executing this script with Python will produce a file called mandelbrot.pdf in the
same directory.
Important
Figure scripts are always executed from the directory containing them. It’s important to keep that in mind if you have relative paths inside these scripts!
There are several caveats to and variations on this, many of which we cover in the Custom workflows page (such as how to include multiple figures in the same figure environment, how to have several different figure environments, all including figures generated by the same Python script, or how to specify non-Python scripts for figure generation). But the most important thing to know is how to disable this functionality:
Important
To prevent showyourwork from interpreting a figure label as the
name of a figure script, simply don’t prefix it with fig:.
The recommended approach is to prefix the label with fig*:, as in
\begin{figure}
    \begin{centering}
        \includegraphics{figures/mandelbrot.pdf}
        \caption{Hello world! This is a pretty visualization of the Mandelbrot set.}
        \label{fig*:fractals}
    \end{centering}
\end{figure}
In this case, showyourwork won’t try to generate mandelbrot.pdf, unless
you provided specific instructions in the Snakefile
(see custom figure scripts). If you haven’t, and
the file mandelbrot.pdf doesn’t already exist, an error will be raised.
The other way to disable this functionality, recommended in cases where the
figure can’t be programmatically generated (such as a photograph, a drawing,
or a manually-created diagram), is to simply place the figure in the src/static
directory. Even if you label your figure with the fig: prefix, showyourwork
will never attempt to generate it if it lives in that folder.
There are a few other idiosyncrasies about the label command: it should always
come after the caption and should never be inside the caption. You’ll
run into warnings or errors if you try to do one of those things (since it
messes up the way showyourwork builds the internal tree representation
of your article). Also, it’s useful to know that showyourwork isn’t
directly parsing your LaTeX, meaning that even if you alias your label command
and use that alias, the functionality described above will still work!
The same applies to \includegraphics calls. You can use related commands
to include your figures (like \plotone or a custom command), and things
should still work as long as \includegraphics is invoked at some point
by those functions.
arXiv submission
Sometimes you may have to compile your article directly with pdflatex
or using a third-party tool that compiles LaTeX internally. This is the case
when submitting to the arXiv – you upload the source
and your PDF is compiled for you.
showyourwork facilitates this for you via the
make arxiv
command, which renders a ready-to-use showyourwork.sty style file that
gets automatically included in your texfile so you can build it using a
standard LaTeX compiler. Running this command packages everything up into
a tarball, which you should be able to upload to arXiv straight away.
Custom commands
There are a few custom commands provided by showyourwork that you should
be able to use anywhere in your texfile:
\showyourwork
This is a command that takes no arguments and simply adds a tiny inline
showyourwork logo. Useful for bragging to your friends about your cool
new toy!
\marginicon
This command takes a single argument, which it places in the margin next
to a figure caption. This can be used to include custom margin icons or to
override the showyourwork-generated icons. It should be included after
any calls to \caption and before any calls to \label. See
Custom margin icons.
\GitHubURL
A macro that resolves to the current repository URL (i.e., https://github.com/user/repo).
\GitHubSHA
A macro that resolves to the current commit SHA (i.e., 31860f2f558b05d8c941d8f73c64f5dbf5ee79db).