Quickstart
Follow the steps below to start a new open source article project with showyourwork.
If you already have an existing repository that you’d like to use, please check out the
FAQs.
Note
This quickstart tutorial assumes you have a basic familiarity with Git, GitHub, and LaTeX. If you’re not familiar with any of these, check out these introductory resources first:
1. Create a new repo
Click here
to generate a fresh GitHub repository from the
showyourwork
template. You'll be prompted for a repository name, and optionally a description.
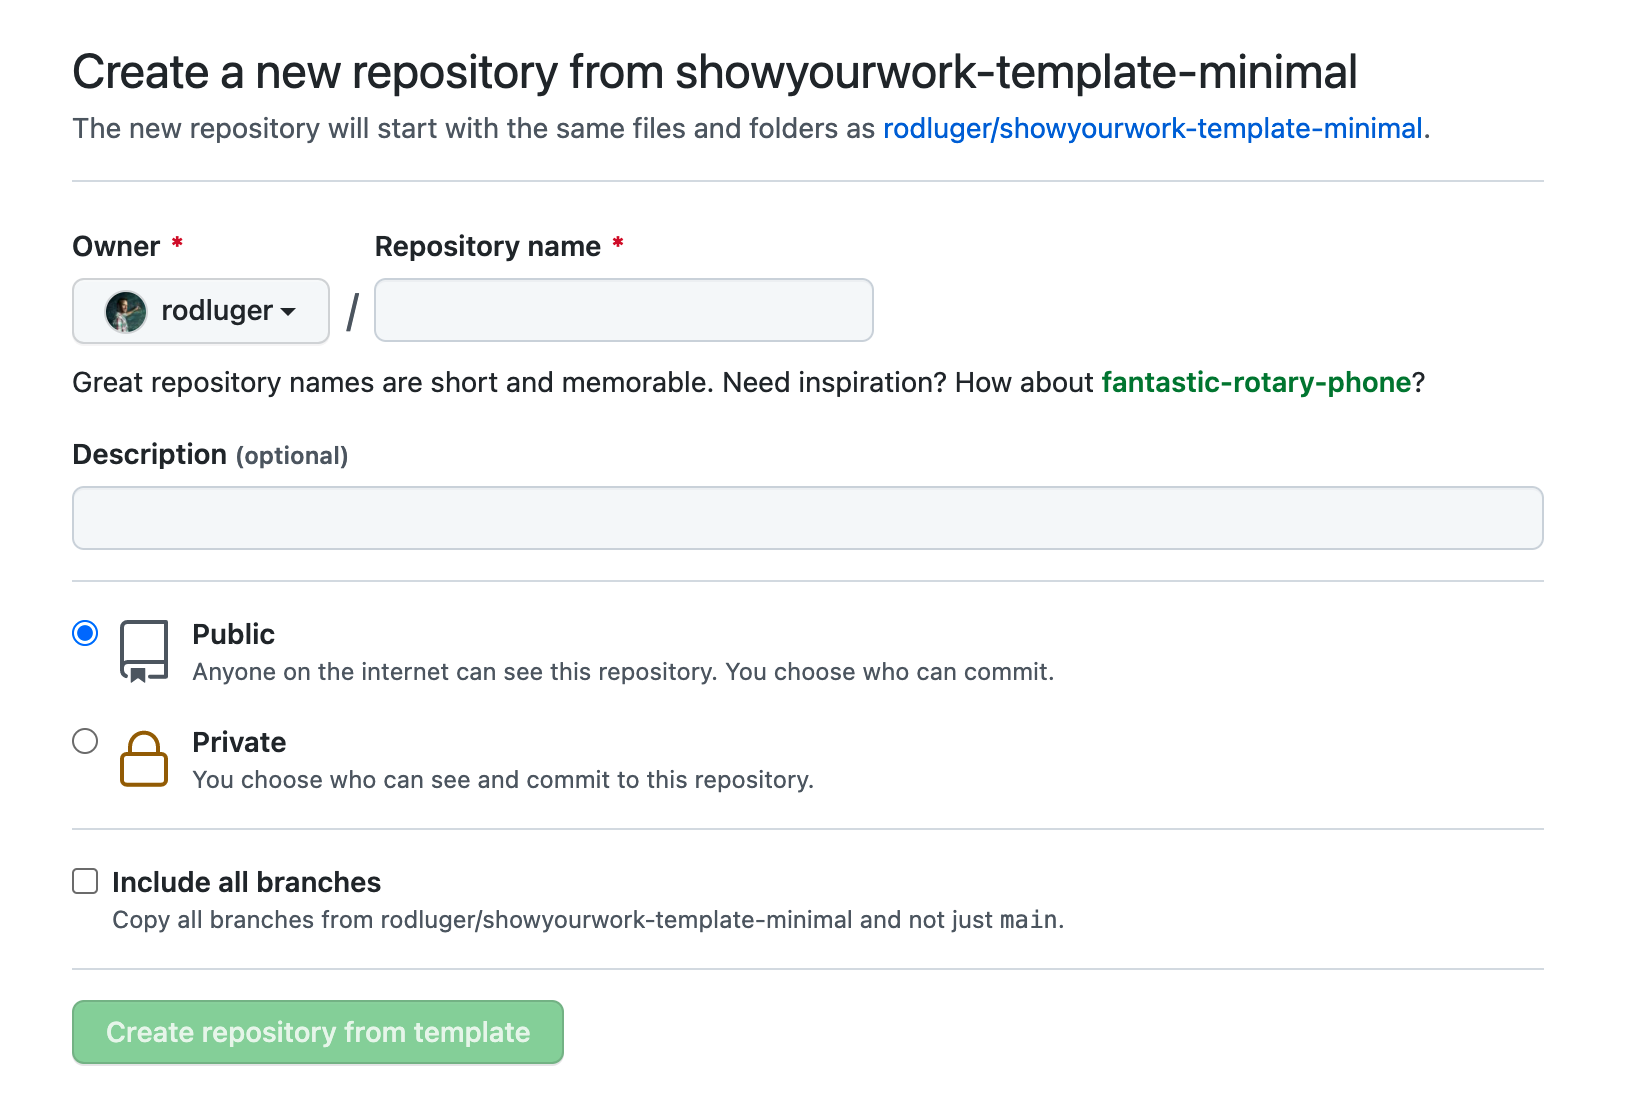
Warning
Don't check Include all branches.
The template repository has many branches used in the
showyourwork
unit tests
that will just end up clogging your repository.
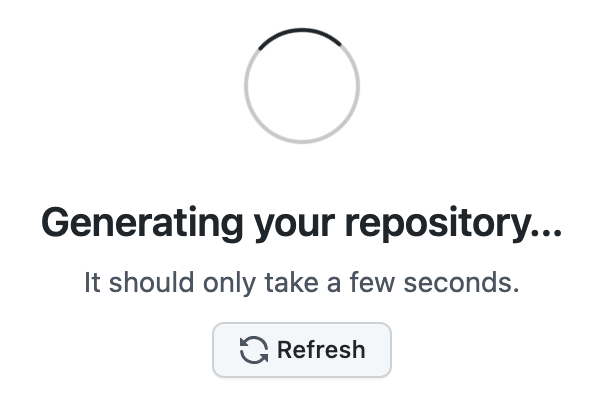
GitHub will create a new repository based on
showyourwork-template.
This should only take a few seconds.
Once you're repository is created, it should look something like this:
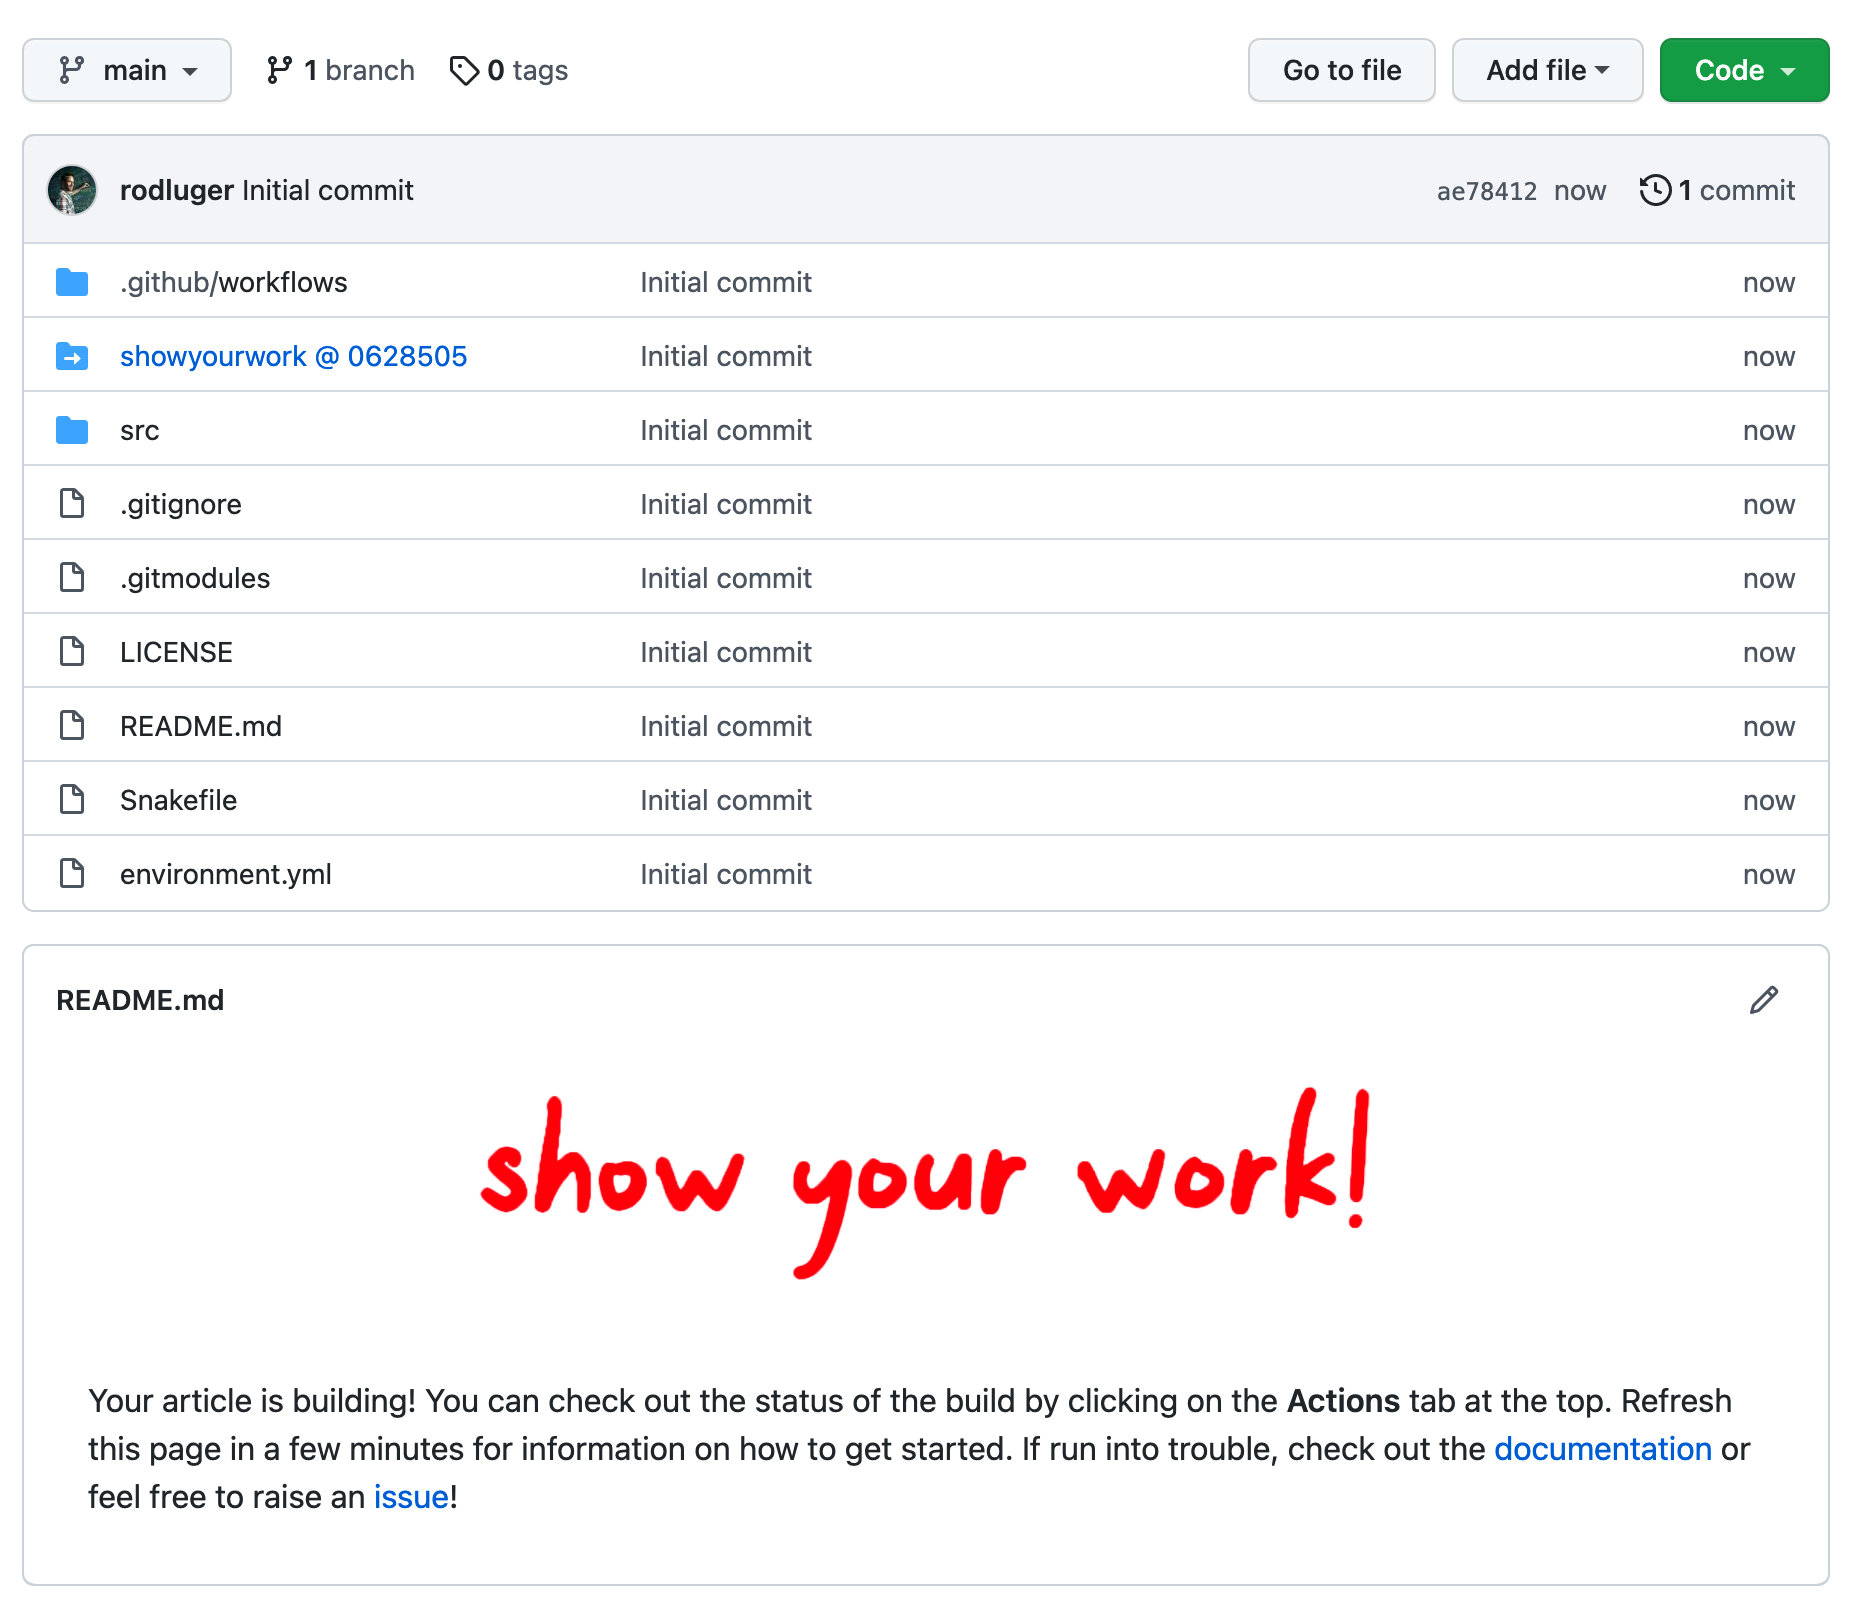
If you click on the  tab at the top of the page, you'll see that there's a GitHub action called
article
currently running. This action runs every time a new commit is pushed to the repository to re-compile the article PDF.
The first time it runs, it also does a bit of automatic formatting of the repo, including a re-write of the
README.md
file, so please wait to make edits to your repo until then. The first time the action runs, it needs to download
and install conda and all the dependencies, so it usually
takes about five minutes.
2. Edit the manuscript online
After about five minutes, refresh the main page of your repository. If the action is done running,
you should see a new README.md
with badges at the top:
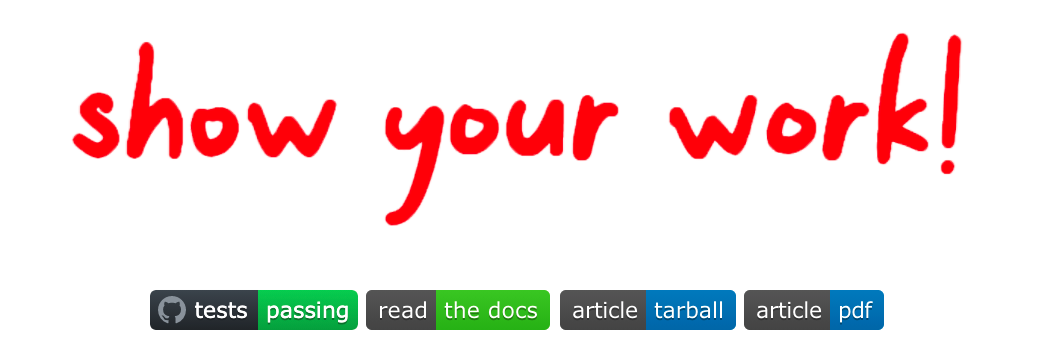
Your repository is now set up, and your article has been compiled into a PDF.
Click on the badge on the far right (article pdf)
to download it. There shouldn't be much in the pdf:
src/ms.tex
on GitHub and click on the Edit this file button
(the pencil icon at the top right of the file). Change the title and author name to whatever you'd like, and commit your changes
directly to the main branch.
If you click again on the tab,
you'll see that your commit triggered another article build. This one should run much faster, since everything is cached across
builds. When the action is done running, download your PDF once more and verify that your changes were incorporated.3. Clone the repository
Editing stuff online is useful for quick changes and easy fixes, but you’ll probably want to do most of your development locally. Open a terminal, navigate to the directory of your choice, and clone your new repository by running
git clone https://github.com/<user>/<repo>
where <user> is your GitHub user name and <repo> is the name of your repository.
Edit the manuscript (src/ms.tex) by replacing the blindtext command in the abstract with a blurb about your project.
After you make these edits, add, commit, and push your changes to GitHub:
git add src/ms.tex
git commit -m "Minor edits to the manuscript"
git push
Navigate to your repository on GitHub, and once again click on the Actions tab to verify that your article is building. Within a few minutes you should have an updated, fully synced PDF of your article.
4. Add a figure
Figures can be included in the article by adding a Python script to the folder src/figures.
Create a script called mandelbrot.py in that directory and add the following code to it:
"""
Plot a pretty fractal. Adapted from
https://scipy-lectures.org/intro/numpy/auto_examples/plot_mandelbrot.html
"""
import numpy as np
import matplotlib.pyplot as plt
from numpy import newaxis
import copy

def compute_mandelbrot(N_max, some_threshold, nx, ny):
    x = np.linspace(-2, 1, nx)
    y = np.linspace(-1.5, 1.5, ny)
    c = x[:, newaxis] + 1j * y[newaxis, :]
    z = c
    with np.warnings.catch_warnings():
        np.warnings.simplefilter("ignore")
        for j in range(N_max):
            z = z ** 2 + c
        mandelbrot_set = abs(z) < some_threshold
    return mandelbrot_set

fig = plt.figure(figsize=(8, 8))
mandelbrot_set = np.round(1 - compute_mandelbrot(500, 50.0, 601, 401))
tab10 = copy.copy(plt.get_cmap("tab10"))
tab10.set_over("w")
plt.imshow(
    mandelbrot_set.T,
    extent=[-2, 1, -1.5, 1.5],
    interpolation="nearest",
    cmap=tab10,
    vmin=0,
    vmax=0.9,
)
plt.gca().axis("off")
fig.savefig("mandelbrot.pdf", bbox_inches="tight")
In the TeX file (src/ms.tex), include this figure within a figure environment:
\begin{figure}
    \begin{centering}
        \includegraphics{figures/mandelbrot.pdf}
        \caption{The Mandelbrot set.}
        \label{fig:mandelbrot}
    \end{centering}
\end{figure}
The figure label (fig:mandelbrot) tells showyourwork to look for a script
called mandelbrot.py to produce the PDF for this particular figure. No extra
directions from the user are needed!
Now add, commit, and push your changes to GitHub:
git add src/figures/mandelbrot.py
git add src/ms.tex
git commit -m "Add a figure"
git push
Navigate to your repository on GitHub, and once again click on the Actions tab to verify that your article is building. Within a few minutes you should have an updated, fully synced PDF of your article with the new rendered figure.
5. Build the repository locally
It’s also useful to be able to build your article PDF locally. To do this, you must have the
conda package manager installed; click
here if you don’t already have it.
Once conda is set up, you should be able to build your article by running
make
as long as you’re on Mac or Linux. This will finish setting up the git submodule
for showyourwork, install mamba and snakemake
for you (if you don’t already have them), and invoke Snakemake to build your
article PDF. You can also do all of this manually; see Local builds for details.
The output file ms.pdf will be placed at the root of your repository; it should
look very similar to the one generated by the GitHub Action. Note that by default,
the various .gitignore files in your repository prevent you from committing this
and other output files. Remember the basic philosophy behind showyourwork: the
main branch of your article repository should only contain inputs. All output
should either be generated on the fly or saved temporarily on the main-pdf
branch of your remote repository.
6. Read the docs!
That’s it for this quickstart tutorial. Please check out the rest of the documentation for more information on how to customize your workflow, debug issues, etc.